The attack surface of a new Ubuntu 24.04 VPS is quite wide: SSH with password authentication is enabled, the firewall is not configured, and automatic updates are not running. This checklist covers the minimum hardening steps you need to take before installing anything on the server.
1. SSH Key Authentication Only
Disable password authentication immediately. If you haven't copied your public key yet, do this first:
ssh-copy-id -i ~/.ssh/id_ed25519.pub user@your-server-ip
Then edit the /etc/ssh/sshd_config file:
PasswordAuthentication no
PermitRootLogin no
PubkeyAuthentication yes
Restart the service: systemctl restart ssh. Test it with a new terminal before closing the current session.
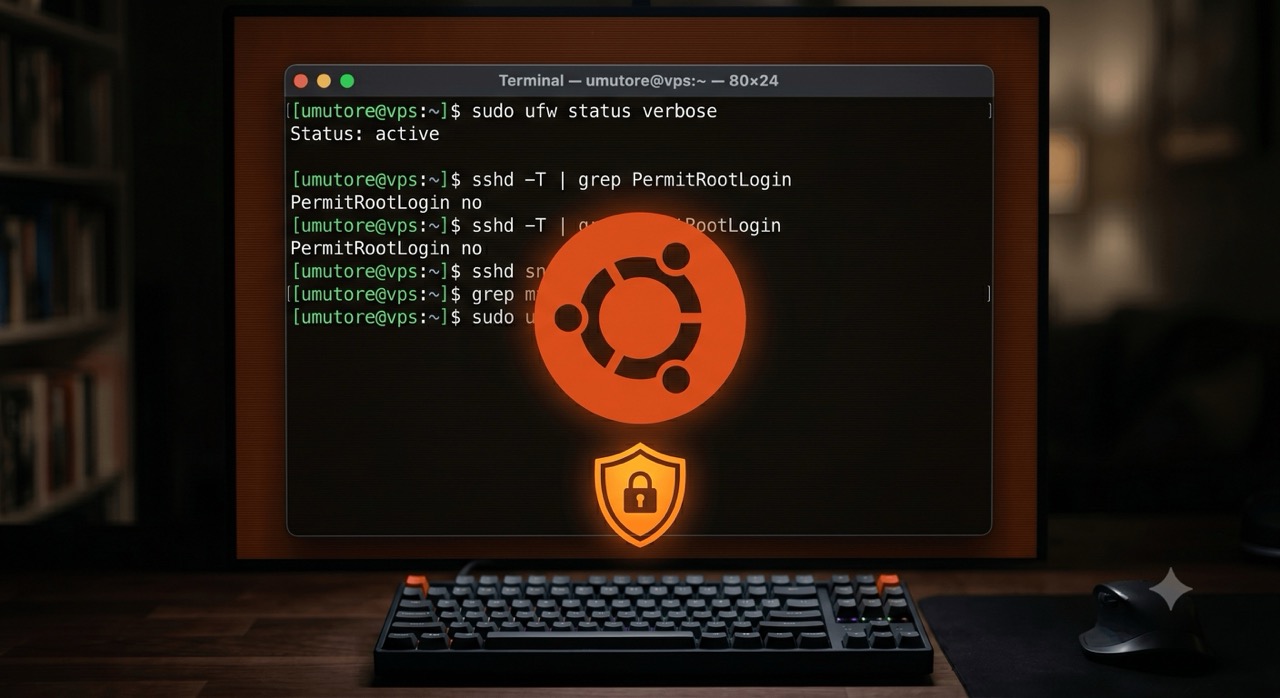
2. UFW Firewall
ufw default deny incoming
ufw default allow outgoing
ufw allow ssh
ufw allow 80/tcp
ufw allow 443/tcp
ufw enable
3. Fail2Ban
Install and configure Fail2Ban to block brute-force SSH attempts:
apt install fail2ban -y
cp /etc/fail2ban/jail.conf /etc/fail2ban/jail.local
Edit the /etc/fail2ban/jail.local file and set bantime = 1h and maxretry = 5 under the [sshd] section. Restart: systemctl restart fail2ban.
4. Automatic Security Updates
apt install unattended-upgrades -y
dpkg-reconfigure --priority=low unattended-upgrades
This ensures that security patches are applied without manual intervention.
5. Swap Space
Add a swap file for small VPS nodes (1–2 GB RAM) to prevent OOM kills during traffic spikes:
fallocate -l 2G /swapfile
chmod 600 /swapfile
mkswap /swapfile
swapon /swapfile
echo '/swapfile none swap sw 0 0' >> /etc/fstab
Once you complete these five steps, your server will be meaningfully hardened before you install anything else. It won't stop a targeted attack, but it will block the vast majority of automated exploitation attempts that target unsecured VPS nodes within minutes of them going online.